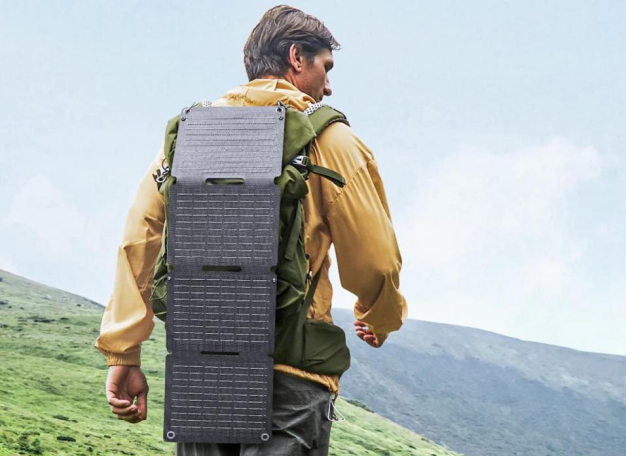
Campers must prepare everything they will need for their camping excursions, especially solar panels. A camping solar pannel is essential when you are outdoors, as it lets you recharge your devices and plug in other tools that require electricity. Knowing that your electronics, lights, and other battery-powered items may be recharged anytime you need them gives you convenience and peace of mind when camping. Don’t worry if this is your first time camping with solar panels. This article will walk you through the process of setting them up at your campground.
Camping Guide: Solar Panel Setup
Rating of solar power required
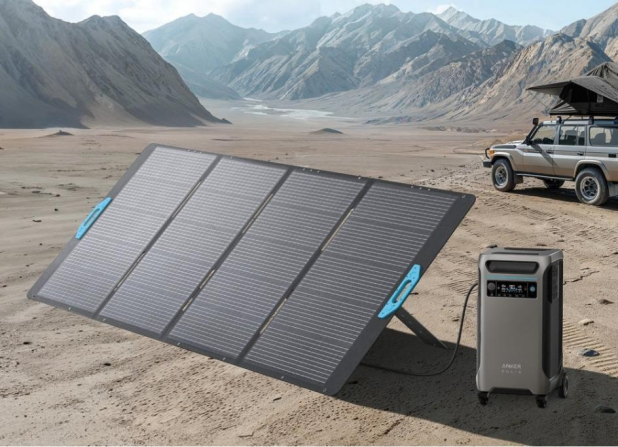
Before you set up your solar panels, you first have to know what camping solar pannel to buy. Different solar panels offer varying power inputs depending on their capacity. A 100 W solar panel can run laptops, phones, lights, and routers. On the other hand, a 400 W solar panel can even power mini-fridges and small RV appliances. This just goes to show that you should purchase the solar panel that your camping style requires. You can pair a solar panel with a solar power station to run your devices and appliances conveniently. You might want to look into the Anker SOLIX solar panels and power stations to see which model is best for you.
Site selection
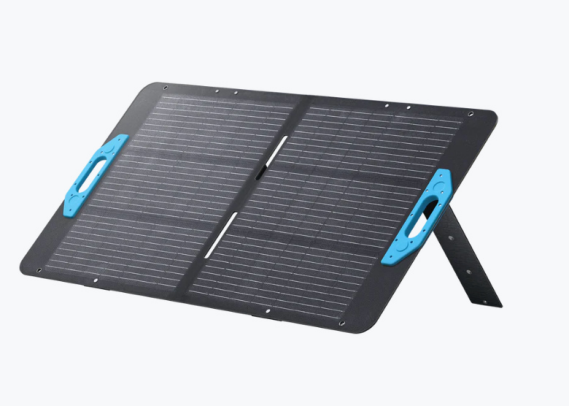
Finding the right location to install your solar panel is the next big tip that you should follow. The main power driver of a solar panel is sunlight. The most useful solar panel is the one that takes the most sunlight and converts it to useful electricity. When you are choosing the site for your tent, you must also consider the exposure of your solar panel to sunlight. It is preferable that the panel faces south to get sunlight throughout the day. You may buy solar panels that have adjustable angles to ensure that you get maximum sunlight at any time of the day. The SOLIX PS100 solar panels can be set to 30 degrees, 40 degrees, 50 degrees, and 80 degrees, which you can set as you assess the angle of the panel that will get the most solar energy.
Wiring and maintenance
Now that you have the right solar panel and the site for it, you can then do the wiring of the device. Most solar panels created by popular brands like Anker are plug-and-play devices with included cables and wires. If you have power stations with you, you can look for the MC4 ports behind the solar panels on Anker SOLIX models, particularly the SOLIX PS400. The extension cable can be plugged into the ports, which would then be connected to the MC4 to XT-60 solar charging converter. This can, in turn, be linked to the power station’s XT-60 port. All the solar panels of Anker SOLIX are compatible with any of the power stations from the brand.
Conclusion
You will benefit greatly from having a camping solar pannel because you will have an electric supply to power and charge your devices. The solar panel with the correct power rating should be purchased. This is dependent on the devices and appliances that you are going to run during camping. You should also properly choose the site for your solar panel so that you can get sufficient sunlight all day to charge your devices. Lastly, you are to use the cables provided by the manufacturer to connect the solar panel to appropriate devices such as power stations. It is best to observe these tips as a beginner to ensure that you will have a grand time during camping.
Visited 1 times, 1 visit(s) today