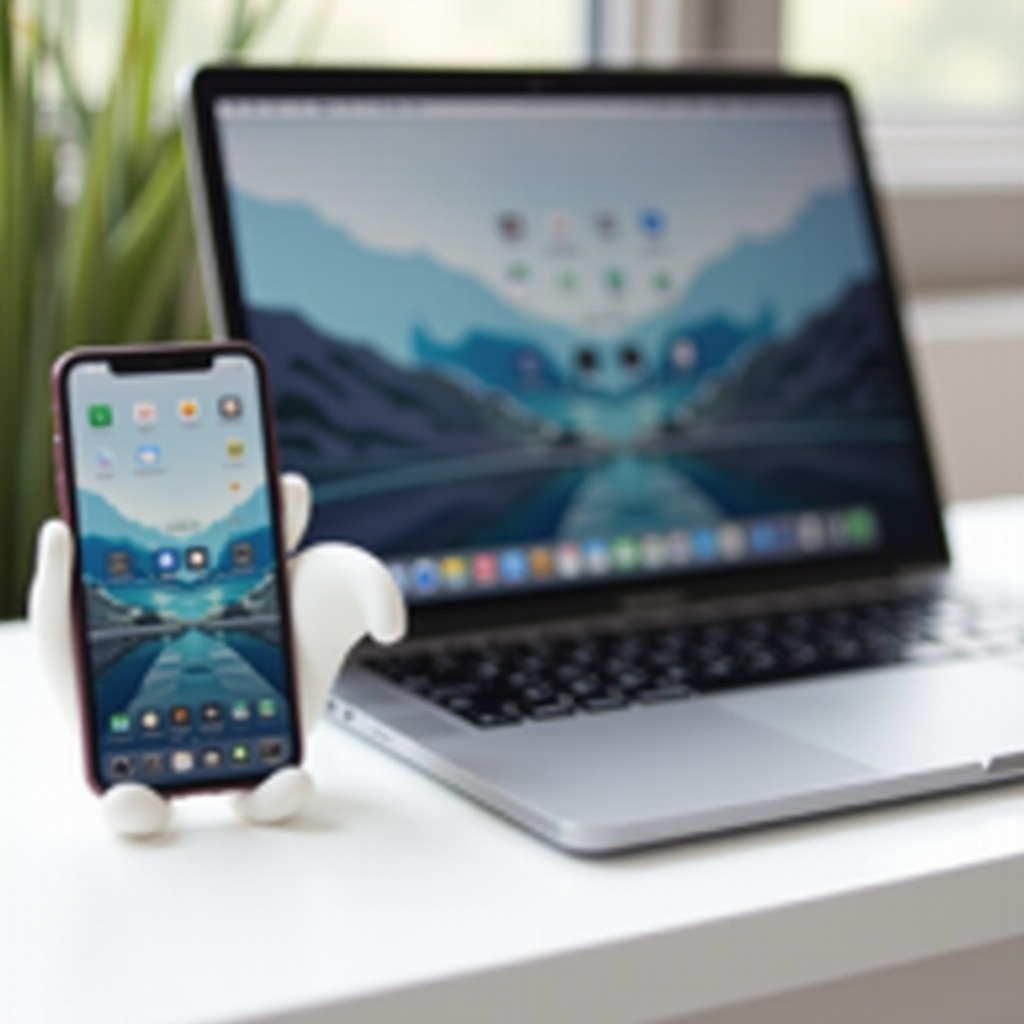
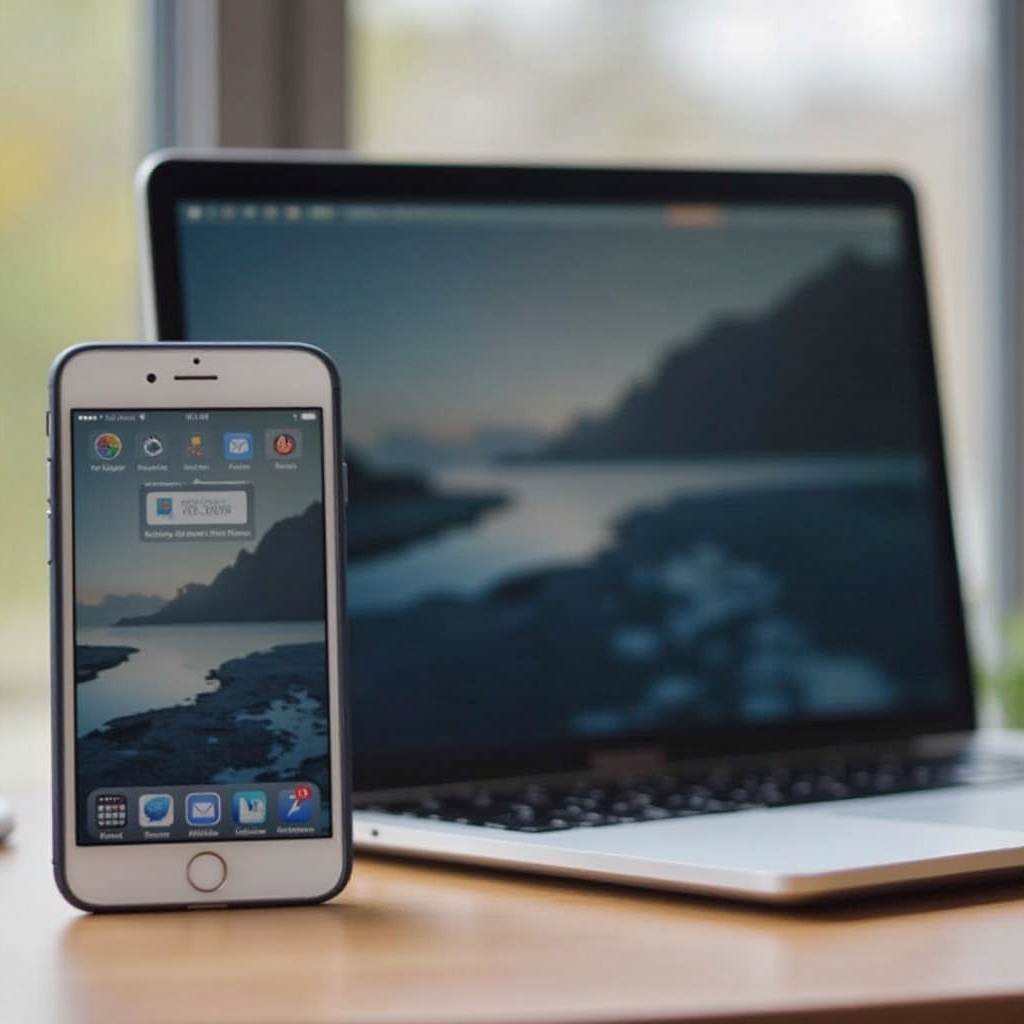
Introduction
Mirroring your iPhone to your MacBook can be incredibly useful for a variety of reasons such as streaming content, showing presentations, or troubleshooting. While iCloud offers some ways to sync your devices, it’s not always the preferred choice due to storage limits, privacy concerns, or the need for an internet connection. Fortunately, there are effective methods to mirror your iPhone to your MacBook without using iCloud. This blog will guide you through the steps to accomplish this using QuickTime Player and third-party apps. Along the way, we’ll also address common issues and questions you might have.
Preparing Your Devices
Before diving into the mirroring process, it’s essential to prepare your devices. Proper preparation ensures a smooth and successful connection.
- Software Updates:
- Ensure your iPhone is running iOS 8 or later.
- Make sure your MacBook is updated to macOS Yosemite (10.10) or later.
- USB Cable:
- You will need a reliable USB-to-Lightning cable. This is essential for QuickTime Player.
- Applications Installation:
- Depending on the method you choose, you might need to install specific software or applications on both devices.
Preparing your devices properly reduces the chance of interruptions or technical difficulties during the mirroring process, setting you up for a seamless experience.
Method 1: Using QuickTime Player
QuickTime Player isn’t just a media player; it’s also a powerful tool for screen recording and mirroring. Here’s how you can use it to mirror your iPhone to your MacBook:
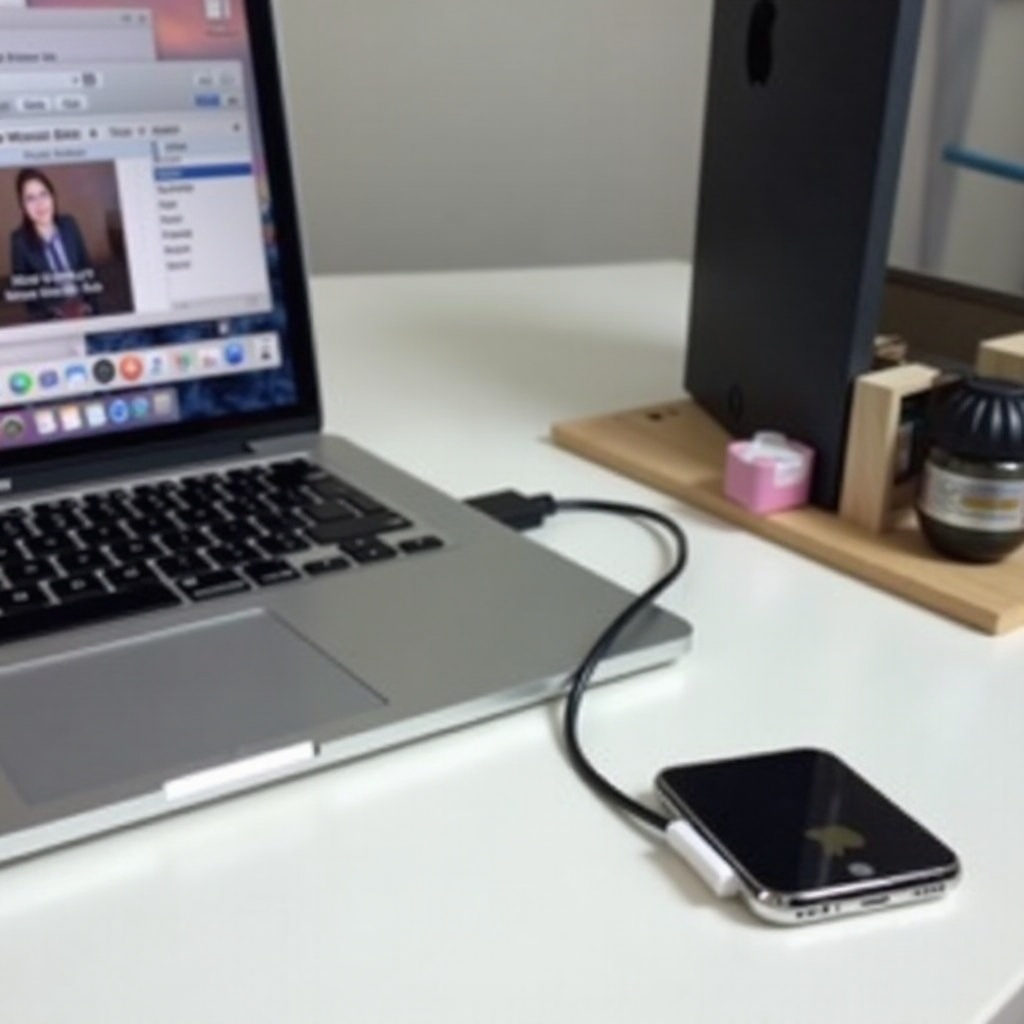
- Connect Your Devices:
-
Use a USB-to-Lightning cable to connect your iPhone to your MacBook.
-
Open QuickTime Player:
-
Launch the QuickTime Player application on your MacBook.
-
Start a New Movie Recording:
-
In QuickTime Player, navigate to ‘File’ and select ‘New Movie Recording’.
-
Select iPhone as the Camera Source:
-
In the new window, click the small arrow next to the record button. From the drop-down menu, choose your iPhone as the camera source.
-
Start Mirroring:
- Your iPhone screen should now be visible on your MacBook. You can now share content, view images, play videos, or even record your screen.
QuickTime Player offers a robust and straightforward way to mirror your iPhone to your MacBook. The connection via a USB cable ensures low latency, making it ideal for high-quality mirroring without relying on Wi-Fi or iCloud.
Method 2: Third-Party Apps
If you are looking for more flexibility and additional features, third-party apps are a great alternative to QuickTime Player. Here are a few popular options:
Reflector
Setup:
1. Download and install Reflector on your MacBook.
2. Connect your iPhone and MacBook to the same Wi-Fi network.
Usage:
1. Open Reflector on your MacBook.
2. On your iPhone, access Control Center and select ‘Screen Mirroring’.
3. Choose your MacBook from the list of available devices.
4. Your iPhone screen will be displayed on your MacBook.
Reflector provides a seamless connection, making it easy to share content from your iPhone to your MacBook wirelessly.
AirServer
Setup:
1. Download and install AirServer on your MacBook.
2. Both devices must be on the same Wi-Fi network.
Usage:
1. Launch AirServer on your MacBook.
2. Use AirPlay on your iPhone by opening Control Center and selecting ‘Screen Mirroring’.
3. Select your MacBook from the available devices list.
AirServer is another robust option for wireless mirroring, offering high-quality streaming and additional features like screen recording.
ApowerMirror
Setup:
1. Download and install ApowerMirror on both your iPhone and MacBook.
2. Connect both devices to the same Wi-Fi network.
Usage:
1. Open ApowerMirror on both devices.
2. On your iPhone, tap the blue ‘M’ button to search for your MacBook.
3. Select your MacBook once it appears and choose ‘Phone Screen Mirroring’.
ApowerMirror stands out with its rich features, including screen recording, screenshots, and even the ability to control your iPhone from your MacBook.
Troubleshooting Common Issues
Even with proper preparation, you might encounter issues when mirroring your iPhone to your MacBook. Here are some common problems and how to fix them:
Connection Issues:
- Quick Fix:
- Ensure both devices are on the same Wi-Fi network.
- Restart your devices and try reconnecting.
Lag or Latency:
- Quick Fix:
- Use a USB cable if available for a more stable connection.
- Ensure no other heavy network usage is occurring on the same Wi-Fi network.
Application Crashes:
- Quick Fix:
- Update to the latest version of the third-party app.
- Check for any software updates on your devices and install them.
Addressing these common issues will help maintain a seamless mirroring experience, making it easier to enjoy your content without interruptions.
Conclusion
Mirroring your iPhone to your MacBook without iCloud is straightforward with the right tools and preparation. Whether you prefer using QuickTime Player for its simplicity or a third-party app for additional features, you have options to suit your needs. Ready your devices, follow the steps meticulously, and enjoy a seamless mirroring experience.
Frequently Asked Questions
Can I use AirPlay to mirror my iPhone to MacBook without iCloud?
Yes, you can use AirPlay to mirror your iPhone to your MacBook using third-party apps like Reflector or AirServer. These apps utilize AirPlay capabilities to establish a connection without needing iCloud.
What are the limitations of using QuickTime Player for screen mirroring?
QuickTime Player requires a physical USB connection and does not support wireless mirroring. Additionally, it lacks some advanced features offered by third-party apps, such as recording in different formats or controlling your iPhone from your MacBook.
Are there any free third-party apps available for mirroring iPhone to MacBook?
While most premium apps offer the best features and stability, there are some free apps available such as ApowerMirror. However, free apps may come with limitations like watermarks, ads, or limited functionality.