Introduction
Creating an audio CD on your MacBook allows you to enjoy music in a classic format. Whether you want to compile a mix for a road trip or preserve cherished tracks in physical form, burning audio CDs is a straightforward process once you know the basics. This guide will walk you through the entire process, from preparing your MacBook to troubleshooting common issues. By the end, you’ll have a perfectly tailored CD ready to play anywhere.
Preparing Your MacBook
Before diving into the process, ensure your MacBook is ready. Verify that your device has a CD/DVD-RW drive. If not, you’ll need an external optical drive. Also, make sure your operating system is up-to-date to avoid software compatibility issues.
Choosing the Right Software
Your MacBook offers several software options for burning audio CDs. The choice depends on your comfort level and specific needs.
Using Music App
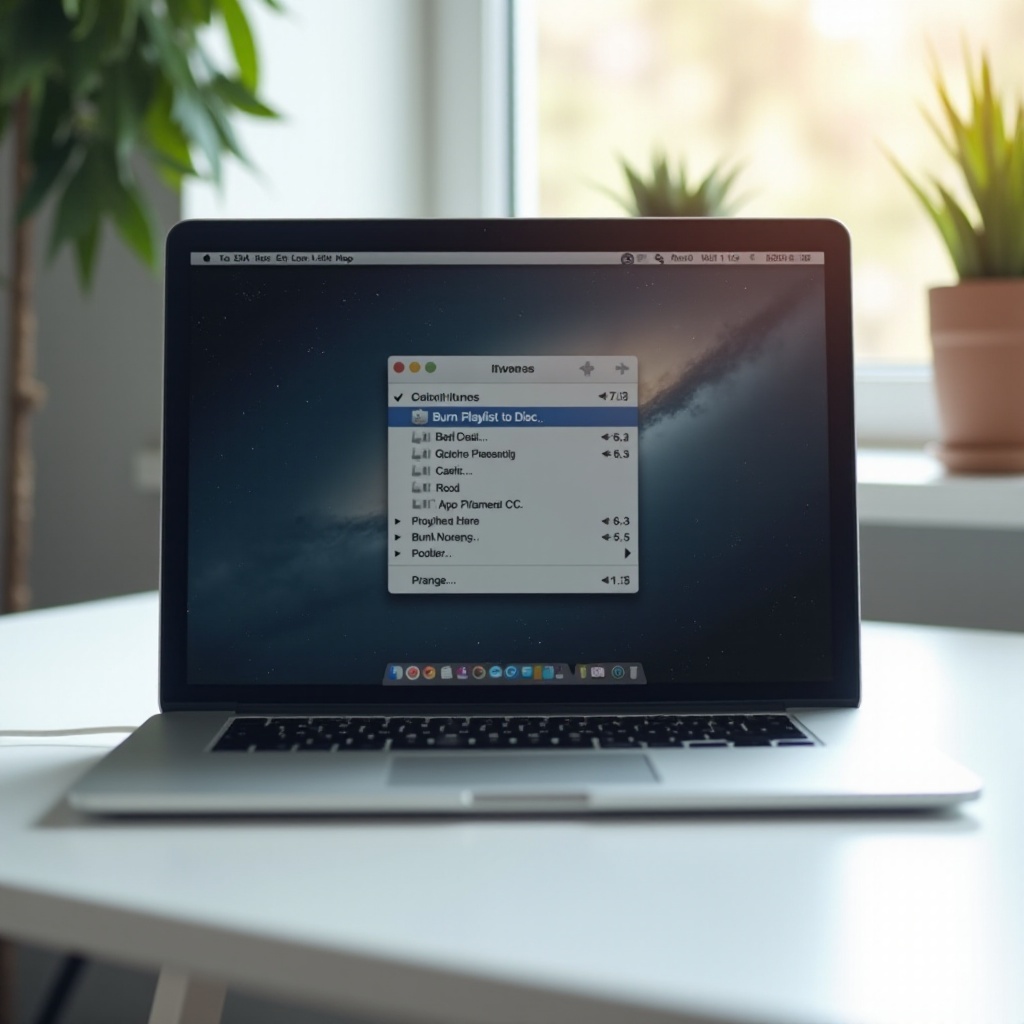
The built-in Music app (previously iTunes) is one of the easiest ways to burn an audio CD on a MacBook. Start by creating a playlist with the tracks you want. Once set, click ‘File’ and then select ‘Burn Playlist to Disc.’ This provides a seamless user experience with minimal steps.
Using Finder
Finder offers a direct approach. Drag the audio files you wish to burn into a new folder, right-click the folder, and select ‘Burn to Disc.’ Insert a blank CD into your Mac, and you’ll be prompted to start the burn process. Finder is an excellent option if you’re not interested in creating playlists.
Using Third-Party Applications
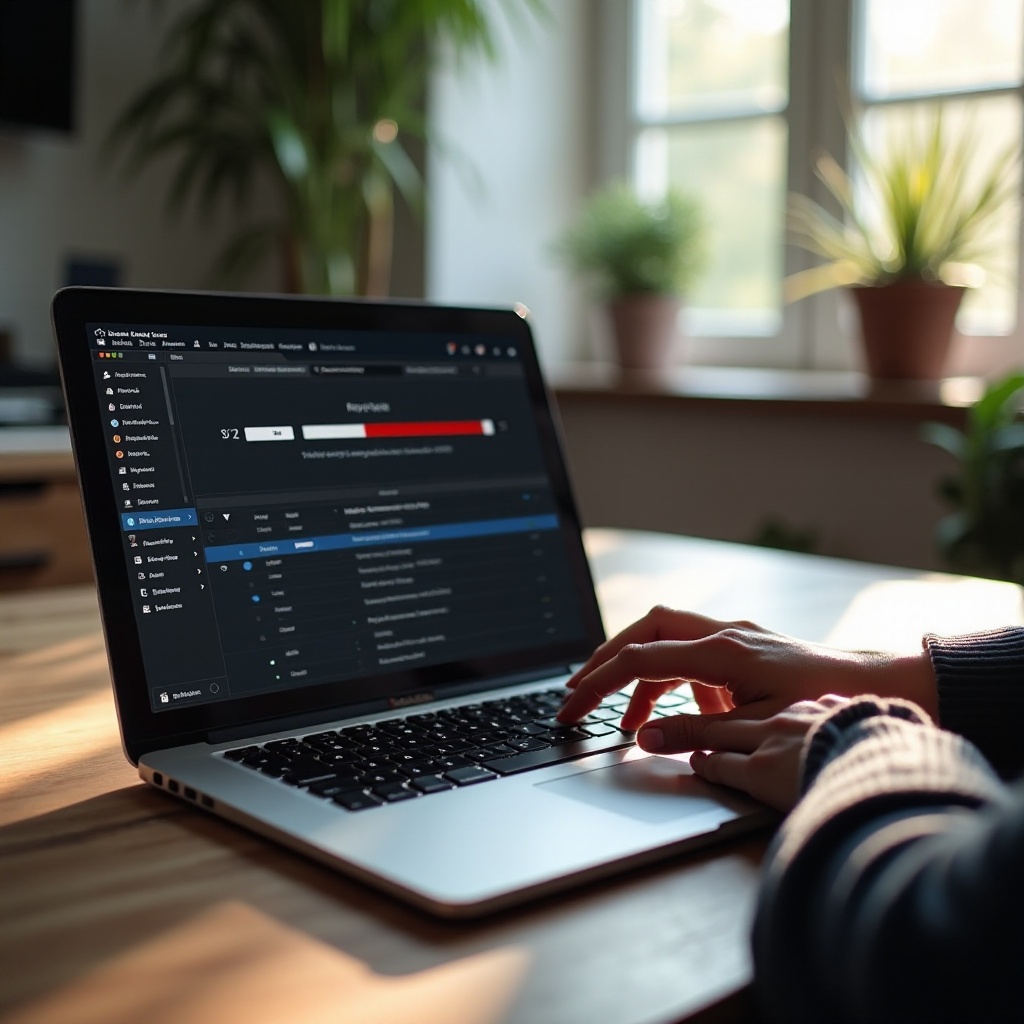
For more features and customization, third-party apps like Toast Titanium and Burn are great. They offer options like tweaking audio quality and designing CD covers. These might come at a cost but offer enhanced capabilities for serious users.
Preparing Your Audio Files
Ensure your audio files are ready and in suitable formats such as MP3 or AAC. If your files are in different formats, converting them to a consistent format ensures compatibility. Use built-in tools or third-party software for conversion. Labeling your tracks clearly makes the burning process more manageable.
Burning the Audio CD
Once your MacBook is prepared, and the software is selected, follow this guide to burn your audio CD.
Creating a Playlist
If you use the Music app, create a dedicated playlist for your CD. Drag and drop the desired tracks into the playlist, ensuring the total duration does not exceed the CD’s capacity, usually around 74 minutes.
Adjusting Burn Settings
Open the burn settings to customize your CD. You can opt for gapless playback for smooth transitions between songs. Additionally, choose the burning speed. While higher speeds save time, lower speeds usually result in fewer errors.
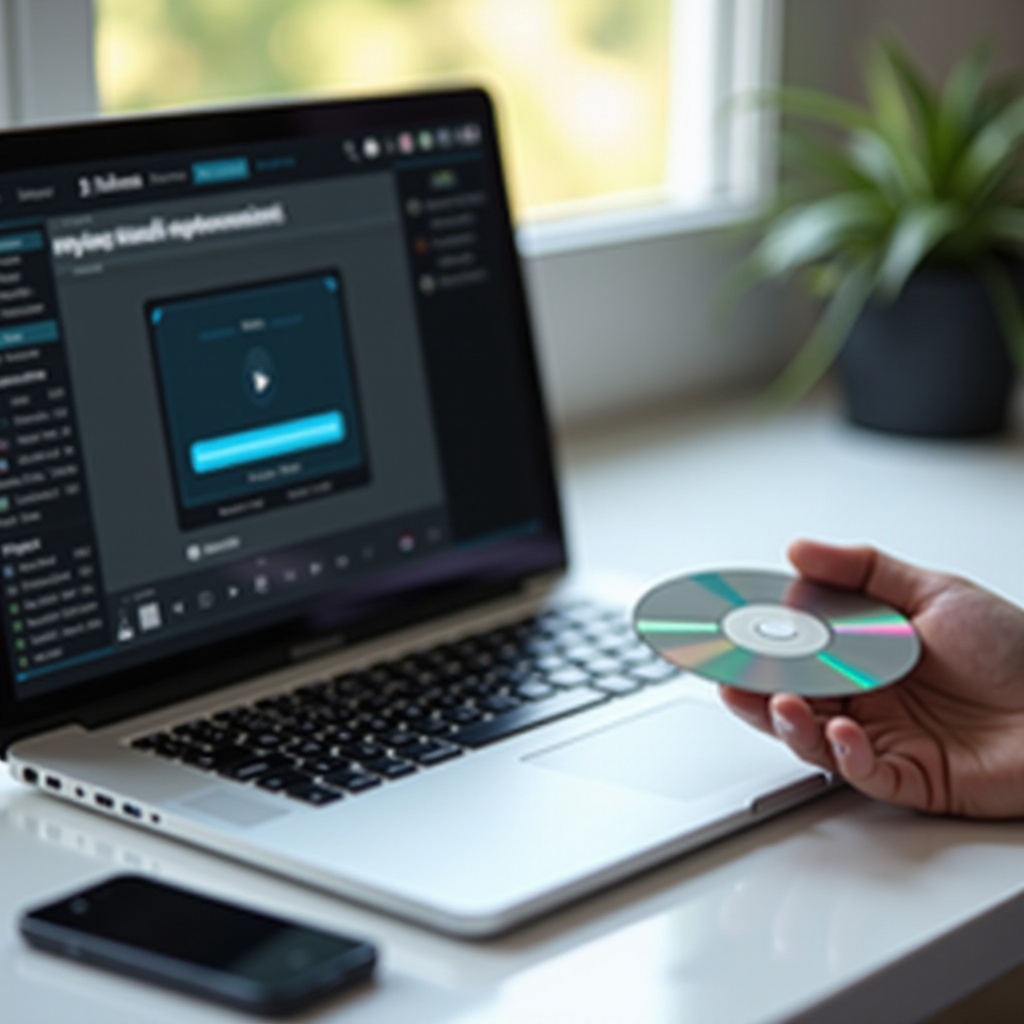
Starting the Burn Process
Insert a blank CD-R or CD-RW into your MacBook’s drive. Click ‘Burn’ in your chosen software and confirm settings if prompted. The burning process may take several minutes, and it’s advisable not to use other resource-intensive applications during this time to avoid errors.
Troubleshooting Common Issues
If issues arise such as the CD not playing correctly or burning errors, try these solutions:
– Ensure your MacBook’s drive and the CD are clean.
– Double-check file formats and convert if necessary.
– Update your software to the latest version.
Conclusion
You’ve successfully learned how to make an audio CD on your MacBook. With prepared audio files and the right software, creating personalized CDs is straightforward. Share your creations, enjoy your favorite music in a tangible format, and know you’re equipped to troubleshoot common problems.
FAQs
Frequently Asked Questions
Can I use any type of CD to burn my audio files?
It’s recommended to use CD-R or CD-RW for audio files. CD-R is more common and cost-effective.
How do I ensure my audio files are high quality?
Use high-bitrate files (192 kbps or higher) to maintain good sound quality. Avoid excessively compressing your files.
What should I do if my CD doesn’t play on other devices?
Ensure the CD is finalized after burning. Also, check the compatibility of CD types and formats with the device.