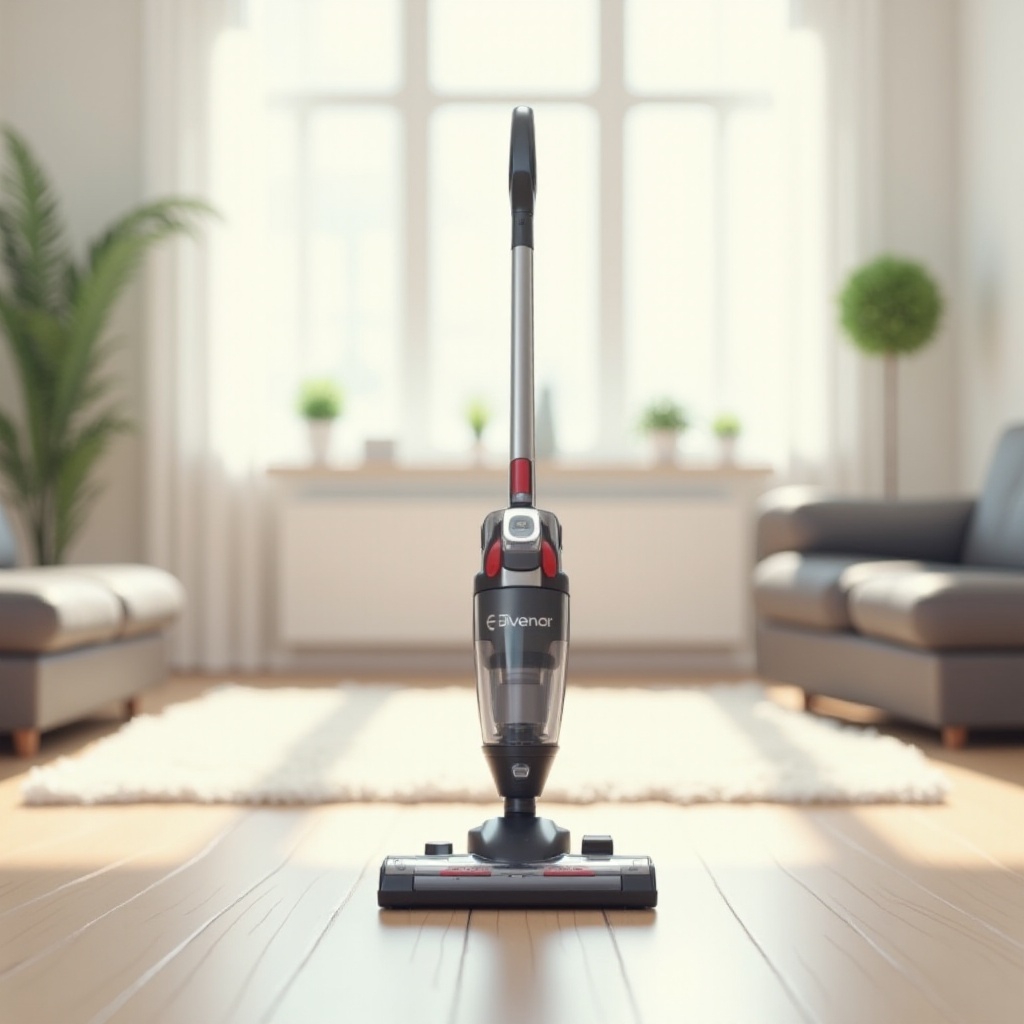
Introduction
Cleaning your vacuum cleaner is essential to maintaining its performance and longevity. A well-maintained vacuum cleaner ensures that your home stays clean and free of allergens. Over time, vacuums can become clogged with debris, reducing their efficiency and effectiveness. In this guide, we will walk you through the steps to clean different types of vacuums and their components, so your vacuum can operate at peak performance.
Preparing Your Vacuum Cleaner for Cleaning
Before you start cleaning your vacuum, it’s important to prepare it properly. Following these preliminary steps ensures your safety and prevents any damage to your machine:
- Unplug the Vacuum: Always make sure the vacuum is unplugged from the power source to avoid electrical hazards.
- Empty the Dust Container or Remove the Bag: For bagless vacuums, empty the dust container into the trash. For bagged vacuums, carefully remove and dispose of the bag.
- Disassemble the Vacuum: Remove all detachable parts, including the hose, attachments, and any other removable components.
Taking these initial steps helps you access all areas that need cleaning and prevents any accidents during the process.
Cleaning Different Types of Vacuums
Different types of vacuums require specific cleaning methods. Let’s explore the cleaning processes for bagged and bagless vacuums:
How to Clean a Bagged Vacuum
Cleaning a bagged vacuum involves some additional steps compared to a bagless one. Here’s how you can do it:
- Remove and Dispose of the Bag: Take out the full bag and dispose of it properly.
- Clean the Bag Compartment: Use a damp cloth to wipe down the compartment where the bag sits. Make sure it’s completely dry before placing a new bag.
- Check the Filters: Bagged vacuums usually have filters that need cleaning or replacement. Refer to the vacuum’s manual for specific instructions.
How to Clean a Bagless Vacuum
Bagless vacuums come with a dust container that needs to be emptied and cleaned regularly. Here’s how you can clean these vacuums:
- Empty the Dust Container: After removing it from the vacuum, empty the container into a trash bin.
- Wash the Dust Container: Rinse the container with warm water and mild soap. Let it dry completely before reattaching it to the vacuum.
- Clean the Filters: Bagless vacuums also have filters that require cleaning. Remove and wash them as per the manufacturer’s instructions.
Cleaning both bagged and bagless vacuums ensures they operate efficiently and have a longer lifespan.
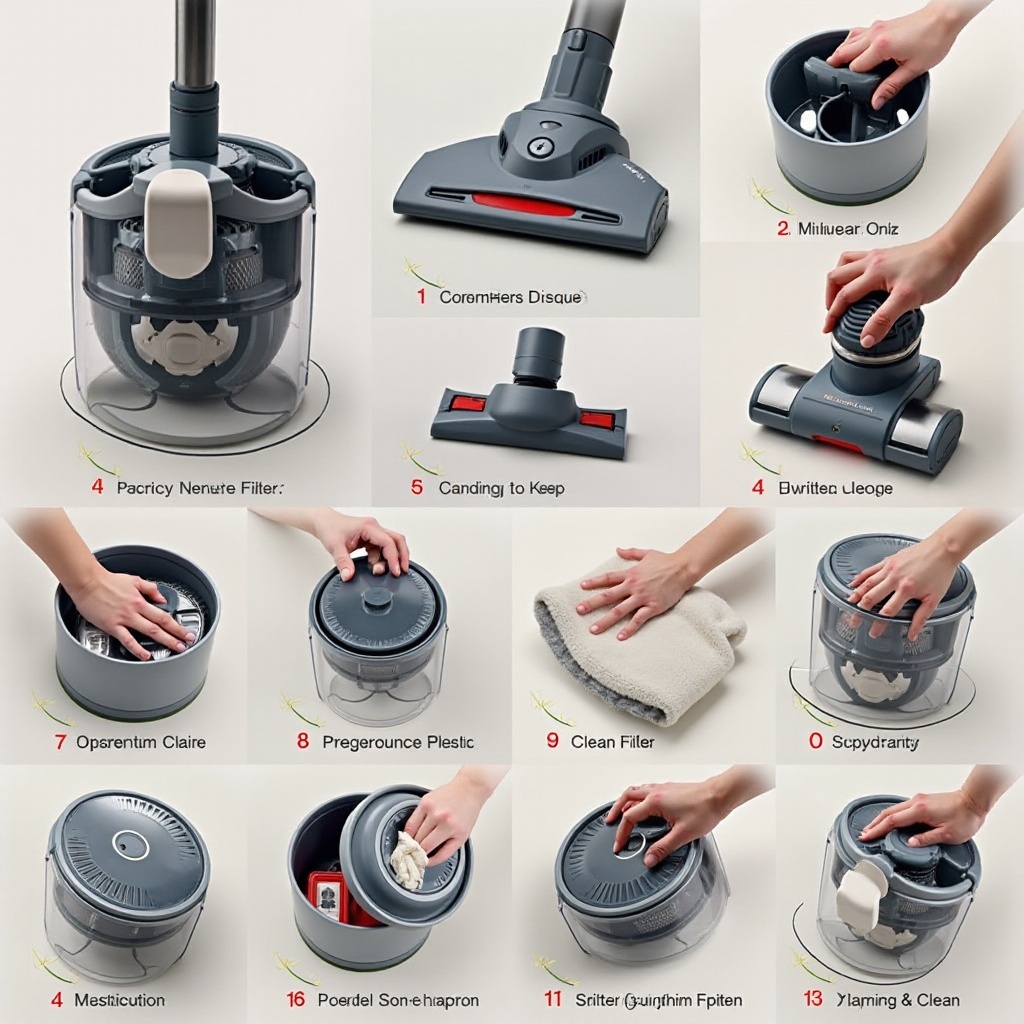
Detailed Steps for Each Vacuum Component
Cleaning the main components of your vacuum is crucial to its overall performance. Below are steps to clean the filters, brush roll, and hose and attachments:
How to Clean Vacuum Filters
Vacuum filters play a key role in trapping dust and allergens. Here’s how to clean them:
- Remove the Filters: Refer to your vacuum’s manual for filter removal instructions.
- Tap the Filters: Gently tap the filters to remove loose dust and debris.
- Wash the Filters: Rinse washable filters with warm water. Non-washable filters should only be tapped or brushed clean.
- Dry the Filters: Let the filters air dry completely, which can take up to 24 hours. Ensure they are thoroughly dry before reinserting them into the vacuum.
Cleaning the Vacuum Brush Roll
The brush roll can get tangled with hair and debris, reducing its effectiveness. Follow these steps:
- Remove the Brush Roll: Unscrew and detach the brush roll from the vacuum.
- Clear Debris: Use scissors to cut away any hair or string wrapped around the brush. Remove any other debris manually.
- Clean the Roll: Wipe the brush roll with a damp cloth to remove dust and dirt.
- Reattach the Brush Roll: Once clean, reassemble it back into the vacuum.
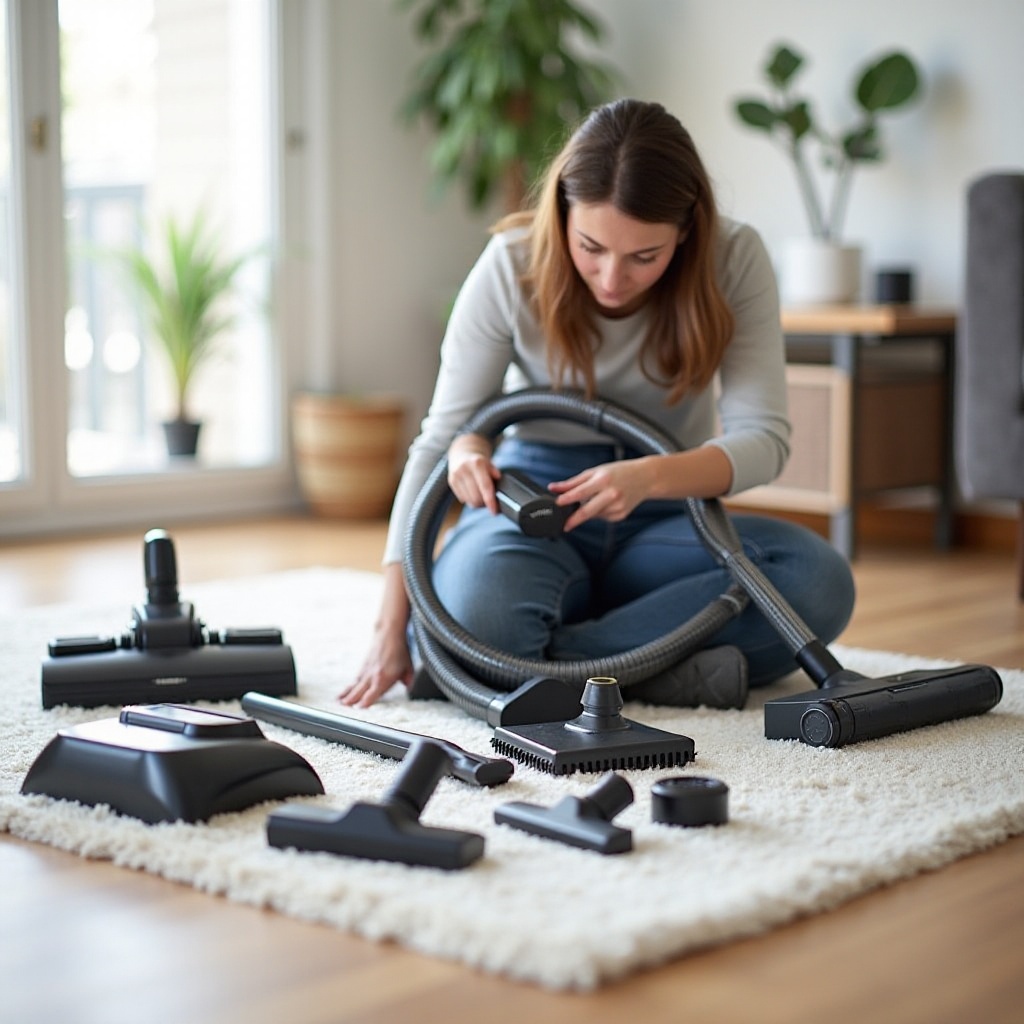
Maintaining the Vacuum Hose and Attachments
The hose and attachments need regular cleaning to maintain suction and efficiency:
- Detach the Hose and Attachments: Carefully remove these components from the vacuum.
- Check for Blockages: Use a long stick or brush to remove any clogs inside the hose.
- Clean the Attachments: Wash the attachments with warm soapy water and let them dry before reattaching.
Regularly maintaining these components ensures your vacuum performs at its best.
Reassembly and Final Checks
After cleaning all components, it’s crucial to reassemble and perform final checks:
- Reattach All Parts: Ensure all cleaned parts, including the bag, filter, brush roll, hose, and attachments, are properly reassembled.
- Check for Proper Attachment: Make sure everything clicks and fits securely in its place.
- Plug It In: Plug the vacuum back into the power source.
- Test Run: Turn on the vacuum to ensure it’s running smoothly and there are no unusual noises.
These final checks confirm that your vacuum is ready for use again, functioning efficiently.
Conclusion
Regularly cleaning your vacuum cleaner is vital for maintaining its performance and prolonging its lifespan. By following these detailed steps for different types of vacuums and their components, you ensure that your vacuum continues to operate at its highest efficiency. A well-maintained vacuum keeps your home cleaner and reduces allergens, contributing to a healthier living environment.
Frequently Asked Questions
How often should I clean my vacuum?
It’s best to clean your vacuum at least once every three months. However, if you have pets or a high-traffic home, more frequent cleaning may be necessary.
Can I wash all parts of my vacuum cleaner?
Not all parts of a vacuum cleaner are washable. Always refer to the manufacturer’s instructions to determine which parts can be washed with water and which should only be wiped or brushed clean.
What should I do if my vacuum has a bad smell after cleaning?
If your vacuum emits a bad smell after cleaning, it may be due to wet filters or a clogged hose. Ensure all parts are thoroughly dry and check for any remaining blockages or debris. If the smell persists, consider using a vacuum air freshener.