Introduction
The thrill of gaming is amplified when you take your ROG Ally’s adventure to the big screen—a television. By connecting your ROG Ally to a TV, you’re not only expanding the game’s visual spectacle but also engaging with a more dynamic audio experience. This comprehensive guide bookmarks the essential steps for connecting your ROG Ally to a TV, from gathering necessary equipment to navigating through common connectivity challenges. As you proceed, you’ll gain insights into creating an optimized and seamless gaming atmosphere in your living room.
Essential Equipment for Connecting ROG Ally to a TV
Before diving into the connection process, having the right equipment at hand is vital. The primary component you’ll need is a reliable HDMI cable, which acts as the bridge between your ROG Ally and the TV. Ensure the cable’s length is adequate to prevent any discomfort or stretching issues. Your TV should have an available HDMI port—check that first. Meanwhile, for users inclined towards wireless connectivity, integrating devices like Chromecast or Miracast can be a game-changer. With all tools prepared, you’re set to embark on the connection process, making your gaming setup more efficient and visually delightful.
Step-by-Step Guide to Connect via HDMI
Identifying the Right HDMI Port
Take a systematic approach to locating the HDMI ports on your TV, typically situated at the back or side. Make a note of the HDMI port you intend to use, as it will be pivotal for the coming steps.
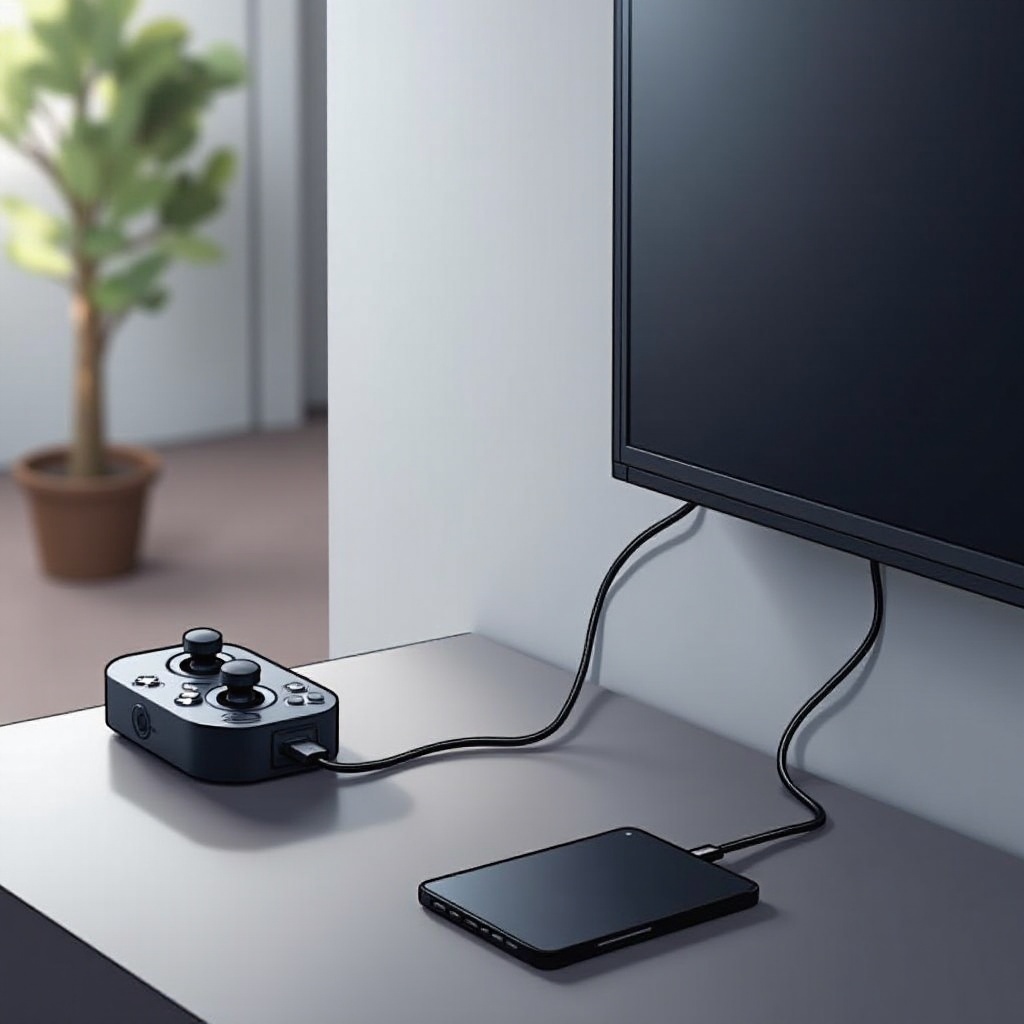
Connecting the HDMI Cable
Start by securely plugging one end of the HDMI cable into your ROG Ally’s HDMI output port. The opposite end goes into the targeted HDMI port of your TV, which you identified in the initial step.
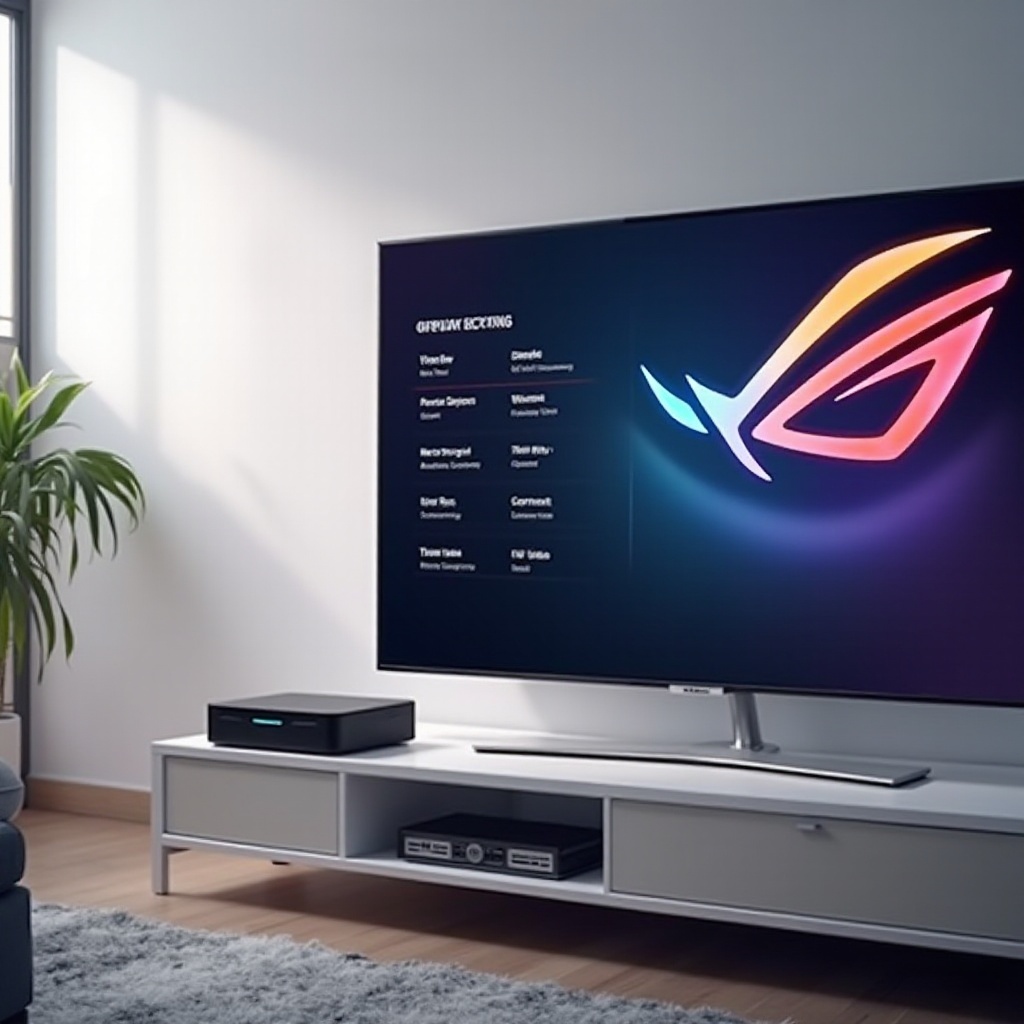
Adjusting TV Input Settings
Power up your TV and navigate through its menu to the input settings. Select the HDMI source that aligns with the port number you have connected. This should mirror your ROG Ally’s display onto the TV screen.
Configuring ROG Ally Settings for Optimal Display
With the physical connection made, it’s important to ensure your ROG Ally is configured to maximize its display potential on the TV.
Setting the Display Resolution
Access the display settings on your ROG Ally. Choose a resolution that complements your TV, catering to a crisp and engaging visual experience.
Enabling Audio Output
Head to your ROG Ally’s audio settings, making sure the HDMI audio output is turned on. This ensures that sound travels adequately to your TV’s speakers.
Performance Optimization Tips
- Conduct a routine check to close unnecessary background applications to free up resources.
- Keep your graphics drivers up to date for smooth gameplay.
- Balance your performance settings for a harmony of visual beauty and speed.
Exploring Wireless Connection Options
Often, gamers seek the freedom wireless technology provides. Whether through Chromecast or Miracast, a wireless connection offers all the thrills without the tangle.
Using Chromecast
Plug Chromecast into your TV’s HDMI port. Then, leverage compatible apps or browsers on your ROG Ally to cast its screen directly onto your TV.
Setting Up Miracast
Ensure your TV supports Miracast functionality. On your ROG Ally, simply access the display settings and opt for the ‘Cast’ option to bridge the connection to your TV.
Benefits of a Wireless Setup
Enjoy increased spatial flexibility and a tidier space owing to the absence of cords. Switching between different displays also becomes significantly easier.
Troubleshooting Common Connectivity Issues
Even with a perfect setup, hiccups can arise. Addressing these common issues with effective solutions is essential.
No Signal on TV
Re-check that all cable connections are secure. Ensure the correct HDMI input is selected on your TV.
Audio and Video Sync Problems
Fine-tune the audio settings on your ROG Ally, and scrutinize if your TV has options to synchronize audio and video effectively.
Resolving Resolution Conflicts
Ensure both devices are configured to compatible resolutions, updating your graphics driver and device firmware as necessary.
Enhancing Your Gaming Experience
With everything set up, there are additional tweaks that can elevate your gaming escapade.
Audio Setup Options
Consider connecting high-quality external speakers or a soundbar for intensified audio pleasure. Alternatively, opt for wireless headphones to indulge without disturbances.
Ideal Gaming Room Lighting
Implement ambient lighting to quash screen glare and rectify visual comfort. LED strips could gift your space with an immersive thematic ambiance.
Tips for Reducing Lag
Adopt high-speed internet services for seamless play—position your router strategically for optimal signal coverage.
Conclusion
By mastering the art of connecting your ROG Ally to a TV, you’re broadening your potential to enjoy a cinematic gaming realm. Whether your journey involves HDMI connections or wireless setups, the transformative perks are aplenty. Follow this guide vigilantly, remedy any arising issues proactively, and craft a gaming domain that promises endless entertainment and immersion.
Frequently Asked Questions
Can I connect my ROG Ally to any TV?
Yes, you can connect to any TV with an available HDMI port or wireless capabilities if it supports Chromecast or Miracast.
What should I do if there’s no sound when connected?
Ensure HDMI audio output is enabled on your ROG Ally and your TV’s audio source is set to HDMI.
Is it better to connect my gaming console wirelessly or via HDMI?
HDMI generally provides better stability and quality. Wireless offers convenience and fewer cables. Choose based on your priority.